analogRead() with Arduino
Some sensor readings are best handled with the built in Arduino function analogRead().
analogRead() can anser things like: How bright is the light? How fast is the satellite moving? These types of answers are often analog – they cover a larger, continuous range of values, not just a binary on or off.
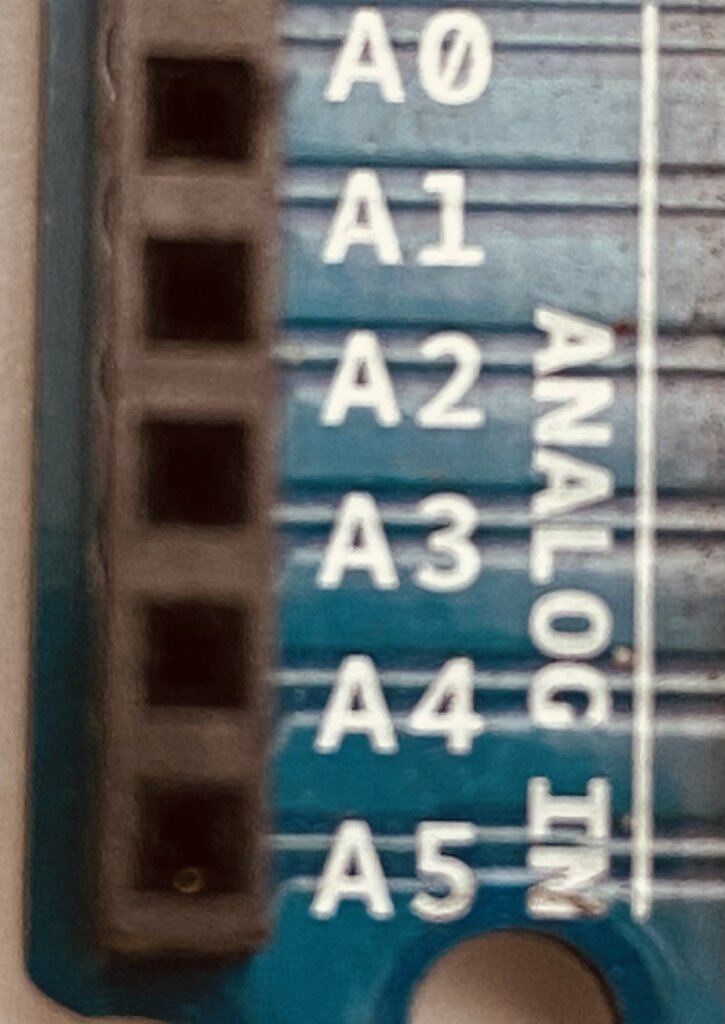
The Arduino UNO R3 and R4 (and most other Arduino boards) handle analog inputs with dedicated pins, labeled on the circuit board with an A and a number, like A0, or A5.
These pins have access to an analog-to-digital converter, which takes the range of input values and creates a digital version by cutting up the range into tiny pieces.
All this is handled behind the scenes – all you have to do is use some very simple functions and you will get what you need (Thanks Arduino for making it easy!)

AnalogRead() hardware practice
Let’s set up a simple circuit to practice using analogRead(), below are the supplies you’ll need.
- Potentiometer (any resistance range will work)
- Jumper Wires – at least 3
- Solderless breadboard
- Bicycle tire
Step-by-Step Instructions
Following these instructions to get the circuit and code running, then afterward we’ll discuss what is going on!
- Place your potentiometer into your breadboard.
- Run a jumper wire from the 5-Volt pin of the Arduino either one of the outside pins of your potentiometer.
- Run another jumper wire from one of the ground pins on your Arduino (labeled GND) to the other outside pin of your potentiometer.
- Run the final jumper wire from pin A0 on your Arduino to the middle pin of the potentiometer.
- Plug your Arduino into your computer.
- Open up the Arduino IDE.
- Go to File > Examples > 01.Basics > AnalogReadSerial
- Click the Verify button on the top left side of the screen. It will turn orange and then back to blue once it has finished.
- Click the Upload button (next to the Verify button). It will turn orange and then back to blue once it has finished.
- On the menu bar, go to Tools > Serial Monitor – this will open the Serial Monitor window – you should see numbers rolling down this screen.
- Now adjust the knob of your potentiometer and watch the serial monitor window, the numbers should adjust between 0 and 1023.

This image composed with Fritzing.
Circuit explanation
As you adjust the resistance by turning the knob on your potentiometer, the voltage being applied at the center pin changes. This voltage is what your analog pin is detecting as input.
The analog-to-digital converter takes this input signal and changes it to the discreet range of 0 to 1023, which can be read with the function analogRead() that we will discuss shortly.
analogRead() discussion
Here is all the code you’ll need to see analogRead() in action:
// the setup routine runs once when you press reset:
void setup() {
  // initialize serial communication at 9600 bits per second:
  Serial.begin(9600);
}

// the loop routine runs over and over again forever:
void loop() {
  // read the input on analog pin 0:
  int sensorValue = analogRead(A0);
  // print out the value you read:
  Serial.println(sensorValue);
  delay(1);  // delay in between reads for stability
}
You will probably notice that the first block of code is the setup() function. Here all we do is start serial communication.
void setup() {
  Serial.begin(9600);   // initialize serial communication
}
Serial.begin() takes the baud rate as an argument (this will almost always be 9600). This function allows you to setup a communication channel between the computer and the Arduino. As you may know by now, setup() only runs once.
Programming Electronics Academy members, check out the Arduino Course for Absolute Beginners to practice using the Serial Library in your code.
Not a member yet? Sign up here.
But wait you say! Don’t we have to set the mode of the pin we will be using?
If you were going to use the pin with digitalRead(), then yes, you’d need to set the mode of the pin. But when using analogRead(), the pin mode does not apply.
As a side note, by default Arduino sets all the pins on the board as INPUTs unless you tell it otherwise. So in many cases you do not have to explicitly set a pin as an input using the pinmode() function.
Moving on to the loop() function, we start with a variable declaration and initialization.
int sensorValue = analogRead(A0);
We declare a variable called sensorValue and we initialize it to the output of a new function. This new function is the glamorous analogRead().
So take a wild guess what this new function analogRead() does?
It reads the value at the analog pin that you tell it to – in this case it is the analog pin A0, where we have the center pin of our potentiometer connected to. The voltage at pin A0 will be mapped to a number between 0 and 1023, and this value will be assigned to the variable sensorValue.
If you recall from above, the actual voltage at pin A0 will be between 0 and 5 volts, depending on where your potentiometer is adjusted – this value gets mapped to the range 0 – 1023 with the help of the analog-to-digital converter.
So now we have a variable that has recorded the value at our potentiometer – what next?
Well let’s look at the value! To do that, we need to print it from the Arduino to our computer – and you guessed it, we will use the Serial library function println() to do just that…
Serial.println(sensorValue);
No big surprises here – we send as an argument the sensorValue variable to the function Serial.println() and our serial monitor window will display the resulting values.
All we do now is invoke the delay() function for one millisecond to make sure our next reading is a stable one and we start at the top of the loop again.
All this is good and well, you might be thinking, but what does a potentiometer have to do with sensors?
What is analogRead() measuring?
OK, a potentiometer doesn’t sense anything…
But interestingly, many sensors work by applying the same principle that a potentiometer does – adjusting resistance.
Take a photo-resister for example. It can be used to sense light because the resistance changes based on the brightness of light that it is exposed to. This change in resistance will adjust the amount of voltage that a pin on the receiving end will have applied.
So now the ball is in your court – what can you use analogRead() for?
Try On Your Own
- Change the analog pin to A2. Make adjustments in the code and the circuit.
- Try a different potentiometer in the circuit, does it affect the range of values you have available?


