Which Arduino to buy?
Are you trying to figure out what Arduino you should buy?
Check out this Arduino Buying Guide for beginners that lays out exactly what you should get!
So many Arduino boards!
If you go to the Arduino website and look at the boards at the store, they’ve got over 20 different boards listed. If you check Wikipedia, they list over 182 different Arduino-compatible boards.
Amazon.com has over 1,000 listings of the Arduino board, not to mention 51 different brands selling Arduino stuff. What gives? Which one are you supposed to get?

Why are the names all so funky, and how do you know if the Arduino IDE software is going to work with the board that you buy? We will me make this as clear and simple as possible.
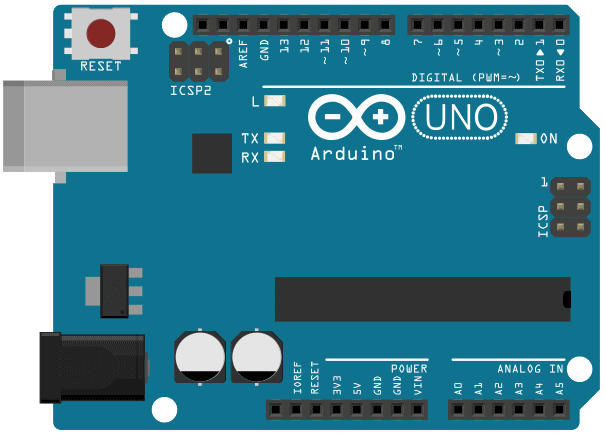
Let’s cut through all of that noise, and just tell you which Arduino you should by for 99% of what you need to do. You ready for it? Buy an Arduino UNO Rev3.


The Arduino UNO Rev3
Rev3 stands for revision three. Here’s why we can say with confidence this is THE board to buy.
Reason #1: The UNO is by far the most popular Arduino board out there. If you’re just getting started, and you want to look at some example code that’s out there, you’re going to find tons of it available for the Arduino UNO.
Reason #2: Most of the add-ons that you’ll find for Arduino, called “shields”, are built to work with the Arduino UNO.
Reason #3: For 99% of your needs, the Arduino UNO is going to do exactly what you need. The UNO has 20 separate input and output channels, called pins, and all of those channels can be used to read digital “on-off” type inputs. Six of those inputs can be used to read analog inputs, like if you were turning a knob. Therefore, for the lion’s share of projects, that is going to be plenty of input / output options.
Programming Electronics Academy members, check out the Familiarization section of the Arduino Course for Absolute Beginners to learn about all the stuff on an Arduino board.
Not a member yet? Sign up here.
So that’s our recommendation. We recommend you get an Arduino UNO Rev3, and we really think you’ll be happy that you did.
What about the Arduino UNO R4?
Wondering about the Arduino UNO R4? Check out the R4 Minima review and the R4 WiFi review.
We’d still recommend sticking starting with the R3, as you’ll find it the path of least resistance wen learning. That being said, as time marches on, the R4 may be the future goto.
Alternatives
But come on, we need some exceptions to a rule, right?
Okay, well let’s cover two cases where you might want a different Arduino board. Let’s say that you’ve already got this predefined project that you have in mind, and you already know that you need tons of inputs or tons of outputs to make it work.
If that’s the case, you may want to check out the Arduino MEGA 2560 Rev3. It’s got 54 input / output pins. That’s almost three times that of the UNO.

The Arduino MEGA works almost exactly like the Arduino UNO, so we can still recommend it even if you’re just getting started (but only if you’re positive you need more input output channels than what already comes with an Arduino UNO).
Now let’s say you’ve got a project in mind that connects wirelessly to the Internet. If that’s the case, we recommend getting a board that uses the ESP8266 or ESP32.
Programming Electronics Academy members, check out the Internet of Things (IoT) Course to start programming your own IoT devices.
Not a member yet? Sign up here.
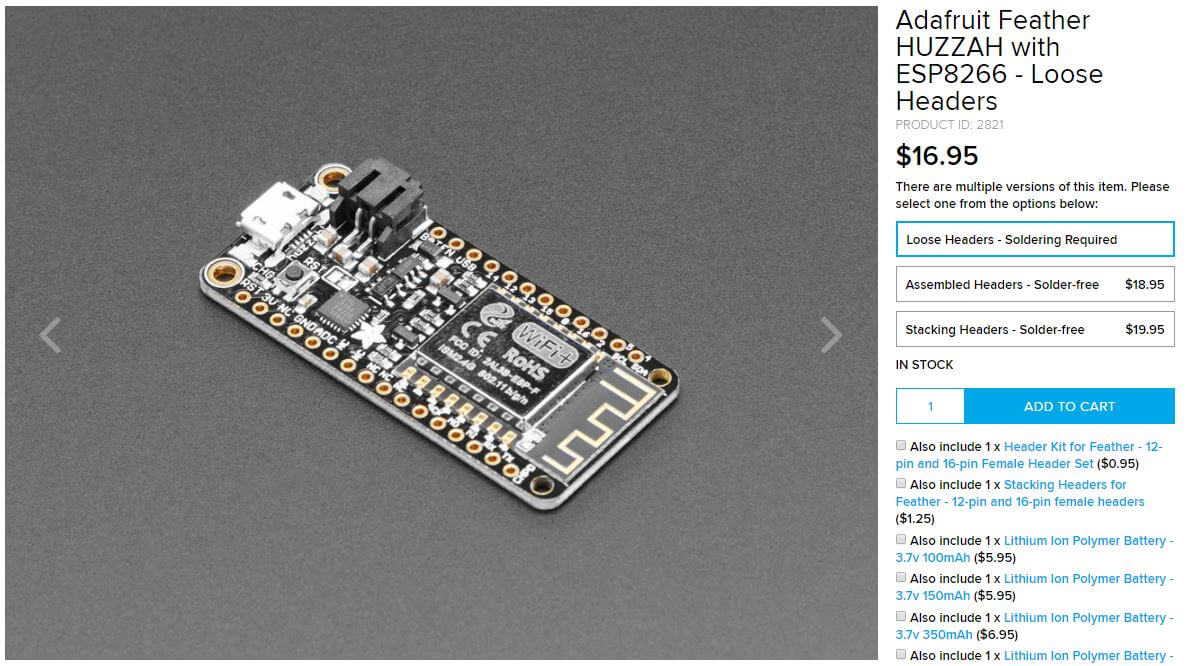
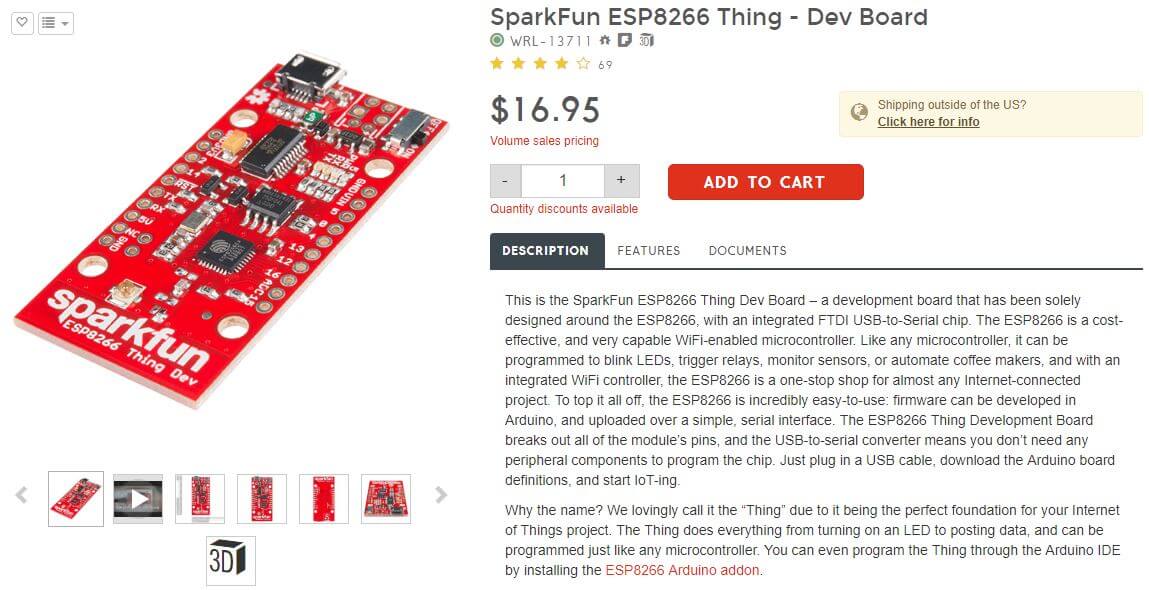
Two great options would be the Adafruit Feather HUZZAH with ESP8266, or the SparkFun ESP8266 Thing Development Board. These boards are not technically Arduino, but they can be programmed with Arduino code and in the Arduino IDE.
Another great board is the Arduino Nano ESP32.
They come with good code libraries for connecting to the Internet, and if you buy from an established seller they’ll have good working examples for you to start with.
Interestingly enough, these WiFi-enabled boards are less expensive than an Arduino UNO. However, we wouldn’t necessarily recommend these wireless boards (over the UNO) if you’re just getting started with Arduino.
There is a very small, yet very real, level of complexity that makes these just ever so slightly less user-friendly than your stock Arduino UNO.
Downsizing
Now maybe you like the idea of the UNO, but you’re looking for a slightly different form factor.
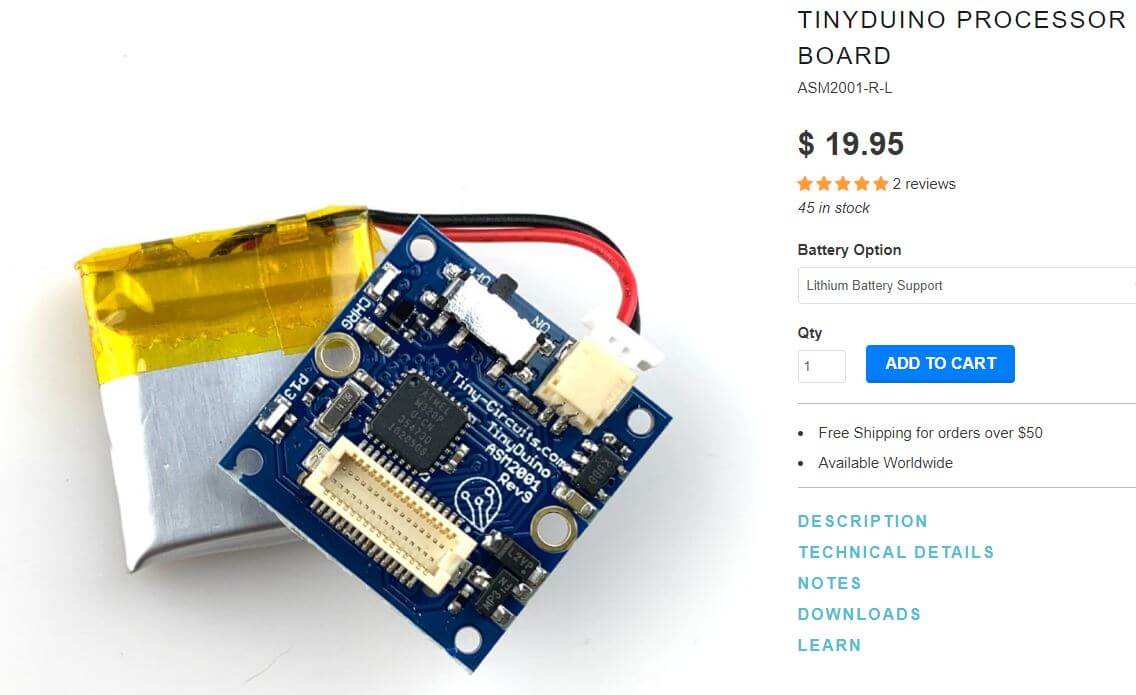
Maybe you need something that’s really small. Well you could check out a company called TinyCircuits, they make super small Arduino boards.
But here’s the good news, whatever Arduino boards you buy, as long as it says compatible with Arduino, chances are that you’re going to be just fine using it.
That is what’s great about Arduino. The code you write on one board can be transferred to tons of different boards, usually with no changes or very minor changes to the code.
Original or Clone?
If you already have an Arduino board, and you’re wondering if you got the right one, you’re probably fine. Here’s one confusing thing about buying an Arduino UNO: there’s many companies sell Arduino UNO clones.
If you didn’t know, the company that came up with Arduino made their hardware design open source for people to use. It’s called open source hardware.
Kind of like open source software, except they are sharing the electrical design files instead of the actual code. What this means is there’s tons of other companies that have taken the exact same design of the Arduino UNO and simply cloned it.
Then they add a fancy name often with the suffix duino, and they say something like “hey, it’s Arduino compatible.” And, in most cases, these clones are fully Arduino compatible.
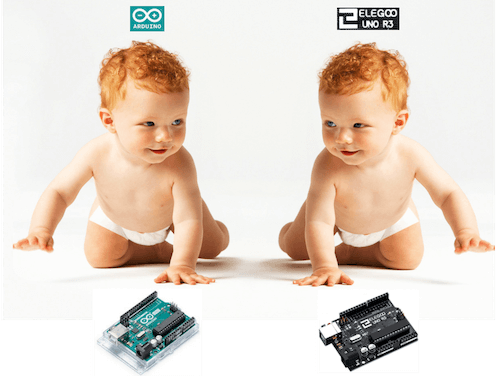
There are reputable companies that do this. The boards have different logos on them, and sometimes, they’ll have slightly different features. For all intents and purposes, however, they work great with the official Arduino software and various Arduino shields.
Should you buy an Arduino from the Arduino company, or should you buy a clone? Does it matter? Well, the Arduino you buy from Arduino.cc usually cost a little bit more, and the selling point of the clones is they typically cost a little bit less.
Now we’re not overly sentimental by any stretch, but for your first Arduino board, we recommend buying your board from Arduino.cc, or a certified distributor of Arduino.
We say this because we think the Arduino company does good stuff, like continual support the Arduino IDE software. In our opinion it’s supporting a good cause. But hey, it’s your call.
Must-Have Accessories
Before we jump into this, we don’t recommend you go out and buy everything you think you need to set up an electronics shop, especially if you’re just getting started with Arduino and electronics.
It makes more sense to gradually build up your supplies, shop, and boards. That being said, if all you bought was an Arduino board and no sensors or output devices to experiment with, it would be very boring.
USB Cable
You will definitely need a USB cable to connect your Arduino to your computer. Assuming you took our advice and got an Arduino UNO, you’ll need an AB-type USB cable.
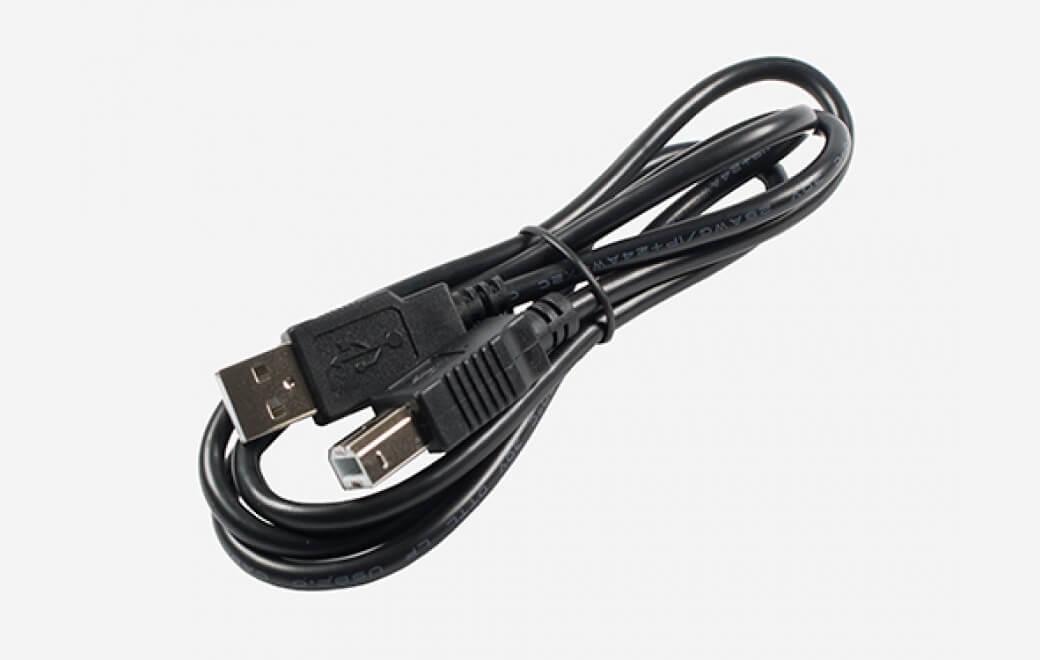
This is the kind of cable that you use to hook a printer up to your computer (not the micro USB type for most cellphones). Some kits come with the cable, some do not, so double check “what’s included” when you purchase your Arduino board.
If you bought a different style of Arduino board, double check what cable it takes. Some of them utilize micro USB cables.
Arduino Kit
The next must-have accessory is an Arduino kit. We say this because kit prices have become very affordable, and it really doesn’t hurt to have one laying around.
Oftentimes the buying of the individual components cost more anyway, so it can save you some time and a little bit of cash.
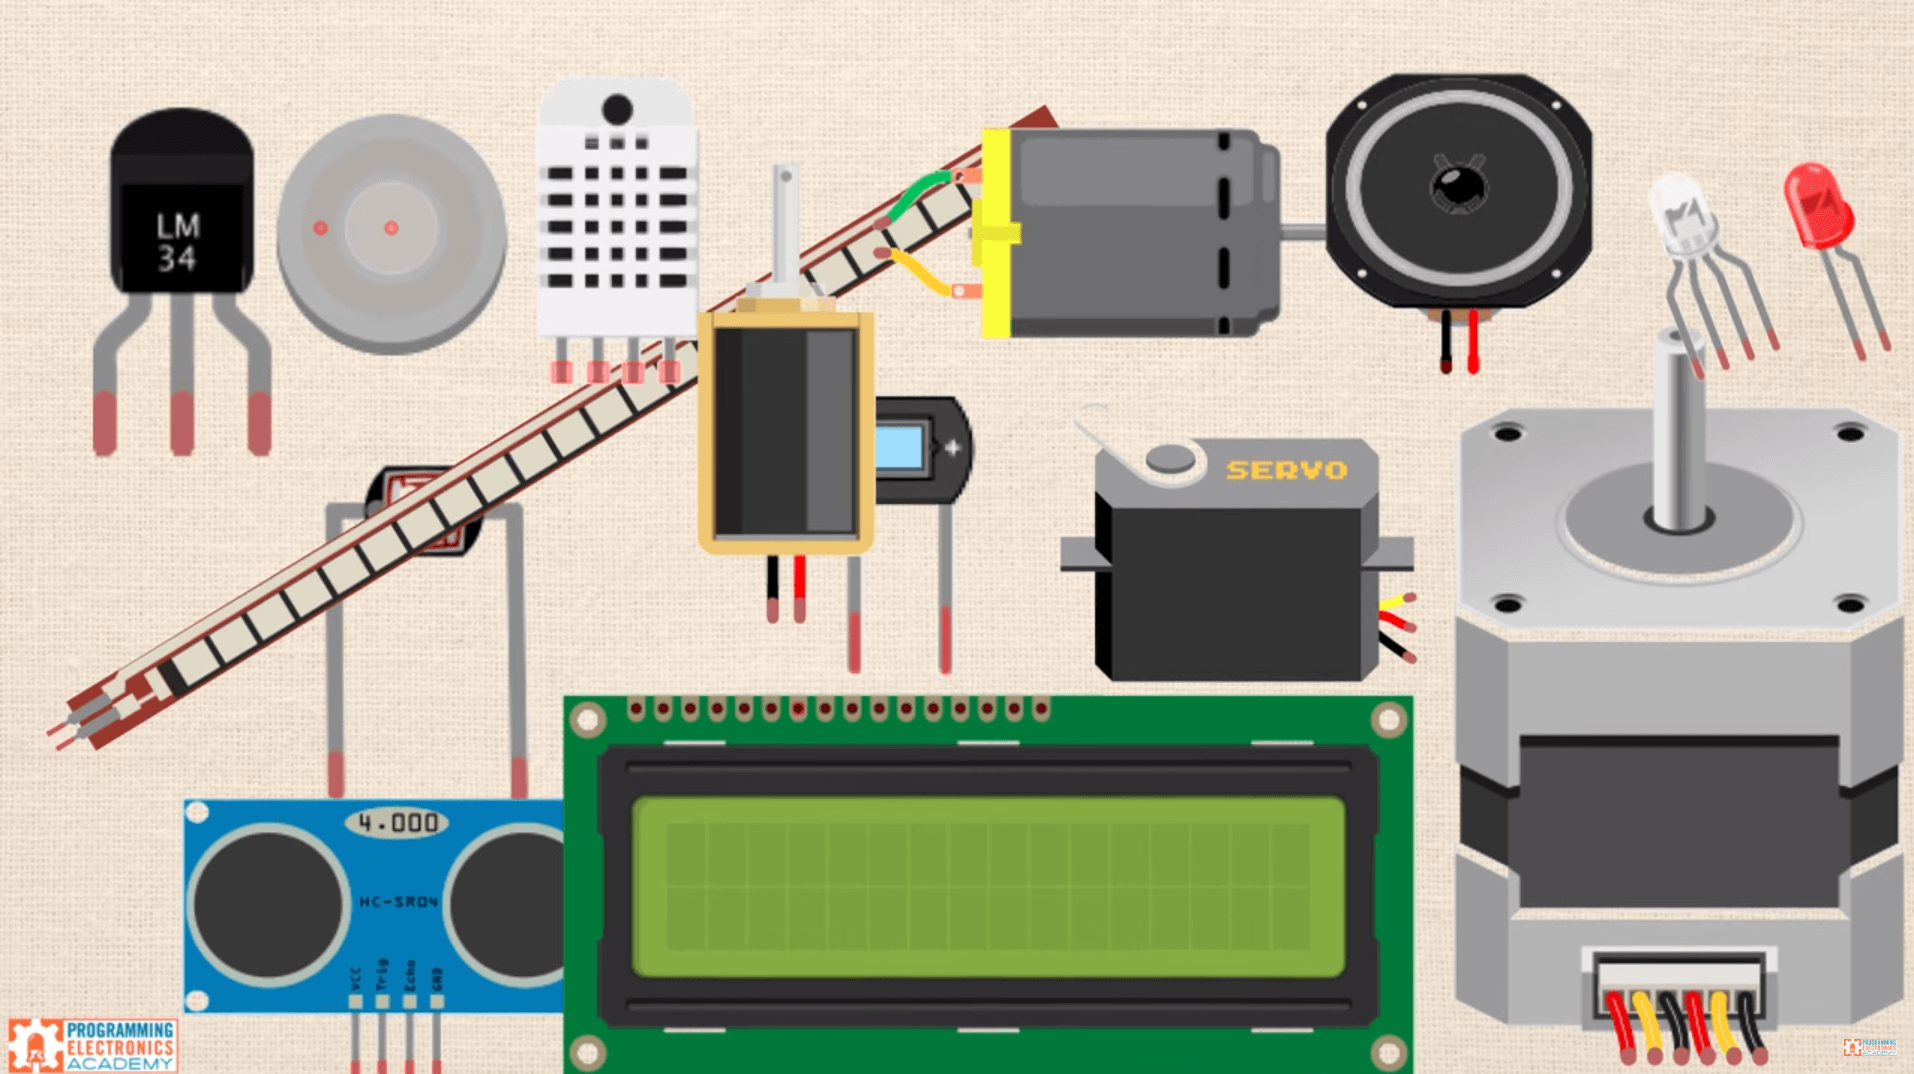
Now there’s a ton of different kits out there. One way to pick a kit is to ask yourself, “what kind of project do I have in mind?” Maybe you can find a kit that already has some of the items that you need in the project.
It can be intimidating trying to guess which components you will need, especially if you’re just getting started. If you buy these components as part of an Arduino kit, you can be pretty sure they’re going to work just fine with Arduino. Here are some items your kit should include, at a minimum:
- Solderless breadboard
- Jumper wires
- Various resistors
- Several LEDs
You use a solderless breadboard to make temporary electrical connections with different components.
Jumper wires are for making these temporary electrical connections.
Resistors are used in circuits, typically to control voltage or current. You will definitely be using these in your projects.
LEDs are low voltage, mini-light bulbs that can be powered by your circuit. Even if you don’t plan on using any LEDs, they’re handy to have incase you need to do some experimentation and/or debugging.
There’s a good chance all those things will be included in any kit you’re thinking of buying (any good kit would include those components).
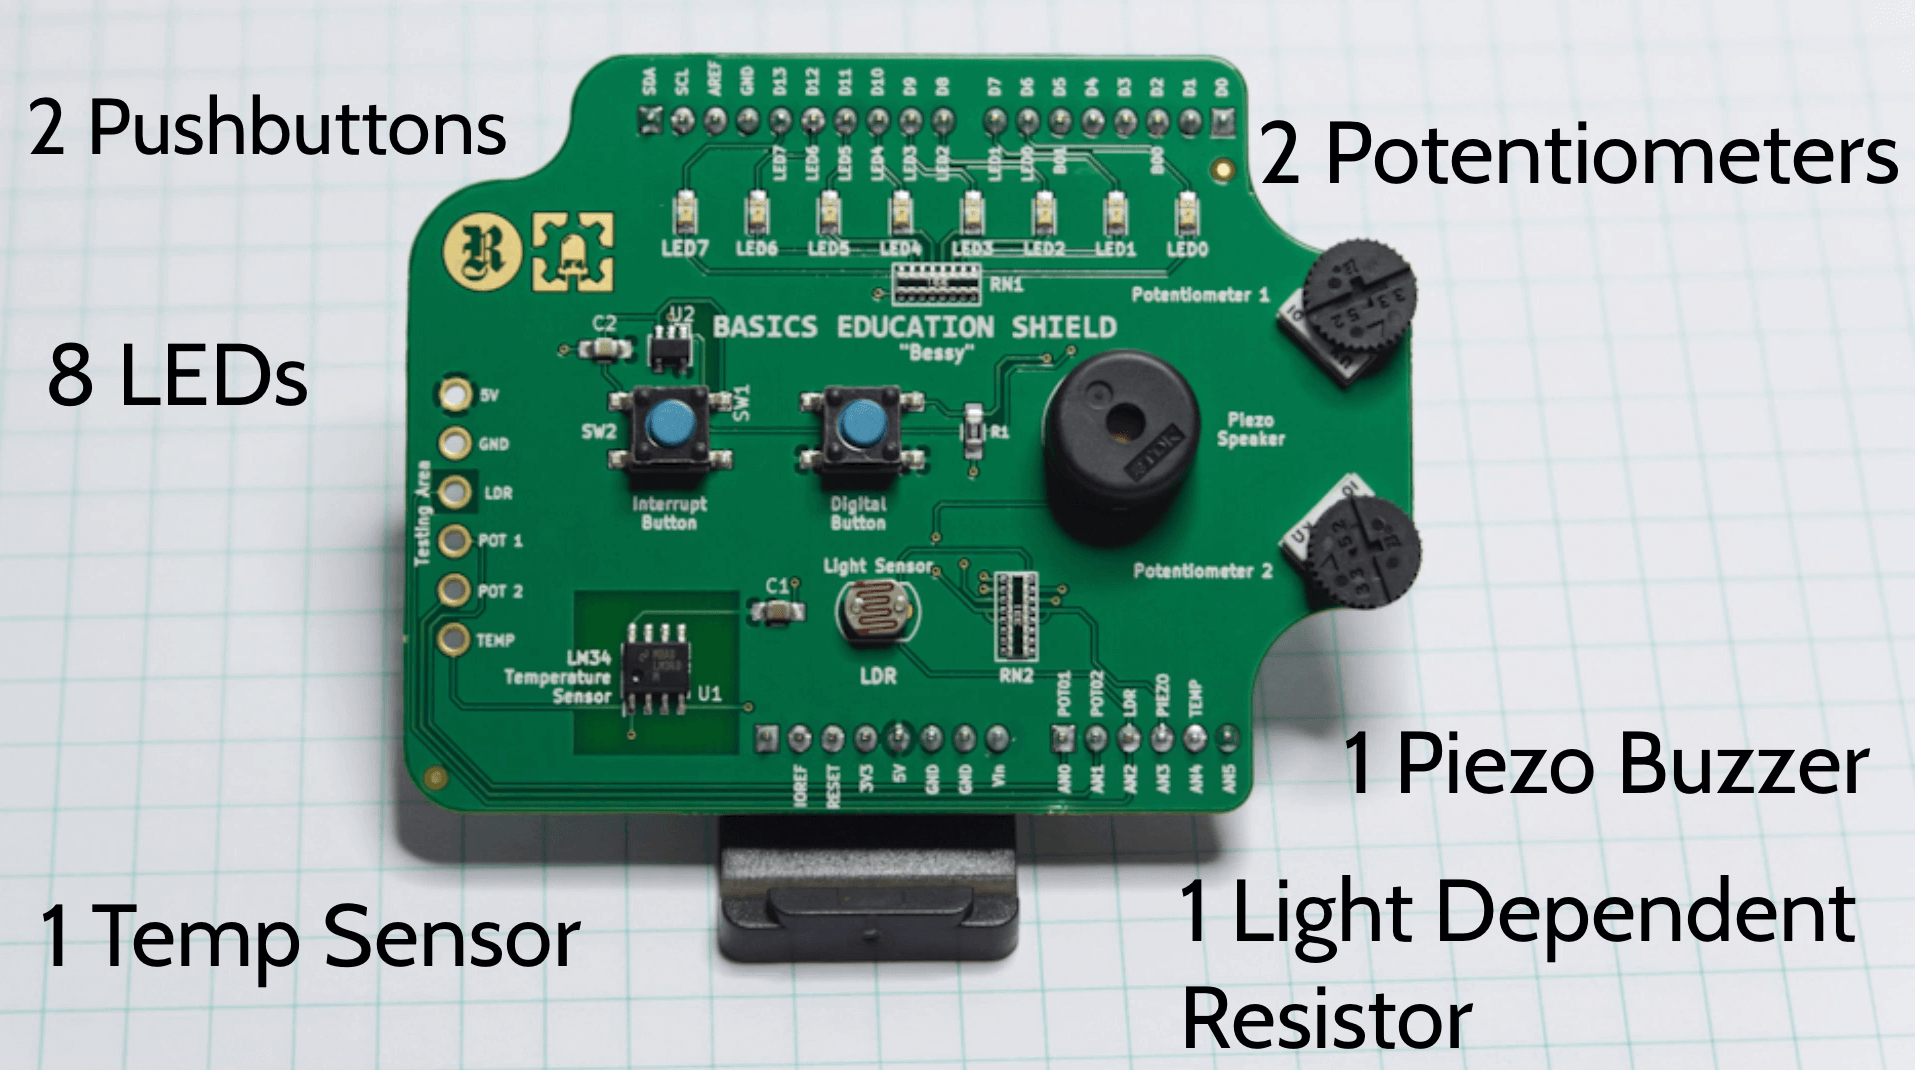
Shields
Now an alternative to buying a kit is to buy an Arduino shield that has a bunch of components built into it.
This is probably the best option for people who are either familiar / into electronics and simple circuits, or for people who would rather focus on learning how to program the Arduino (and spend less time building electronic circuits).
This is a bit of a shameless plug, because our company happens to sell such a shield. It’s called Kit-on-a-Shield for Arduino. It has 15 pre-built circuits on it, so it gives you this playground to mess around with when you’re learning to program Arduino.
The next step
Hopefully this has gotten you excited to start building and experimenting with Arduino. It can really be a ton of fun, and extremely satisfying, to have programmed and built something yourself.
What’s your favorite Arduino board? We’d love to hear what your thoughts are in the comments below.


[…] post Arduino Buying Guide appeared first on Programming Electronics […]
[…] Arduino has you excited and you think you want to give it a shot, make sure to stick around for the next video where we’ll guide you through choosing the right Arduino board, including all the options out […]